In case you missed the post and tutorial for my simple raglan sundresses at
icandy. I'm reposting it here today.
I was originally only going to make one dress, for my middle child, but then my oldest daughter asked for a dress too.
Then my sister came into town and decided to make her daughter one too.
Next thing I knew I was making dresses for everyone's dolls with the scraps.
I made my own pattern and it's simple enough you could do it too.
To make your own pattern you'll need an existing pattern for a sleeveless bodice. I'm using one I made for my daughters
Easter dress, but you could use one from a store bought pattern.
I traced the pattern onto freezer paper. Wrapping paper works well too.
Next I drew a line with my ruler from the armpit to the middle of the neckline. Then because I wanted a wider neck I lowered one side. It still has a curve it's just a lot more gradual. This was the final pattern I used for my front.
***At this point you will want to cut out your front and use it as a guide to draw your other pieces.***
I'm going to continue to draw on top of the same pattern but you'll want to trace the front bodice several times and cut new pattern pieces.
Add an inch to the fold of the front piece to get your back. Don't cut this piece on a fold.
For the sleeves, I measured 3 inches down from the neckline at several spots and left a dot. Then I connected the dots to get a 3 inch curved band.
When it is cut it will look like this. If you cut it to the length of the front piece it will work for the flat sleeve. If you make it the length of the back piece it will work for a pleated sleeve.
You will have 3 pieces when you are done. A front, a back and a sleeve (flat or pleated).
cut :
1 front on the fold
2 backs
4 sleeves on fold
To put the bodice together:
Sew the front to the back pieces together at the sides and finish your edges. Then finish the edges of the arm holes, but not the neckline.
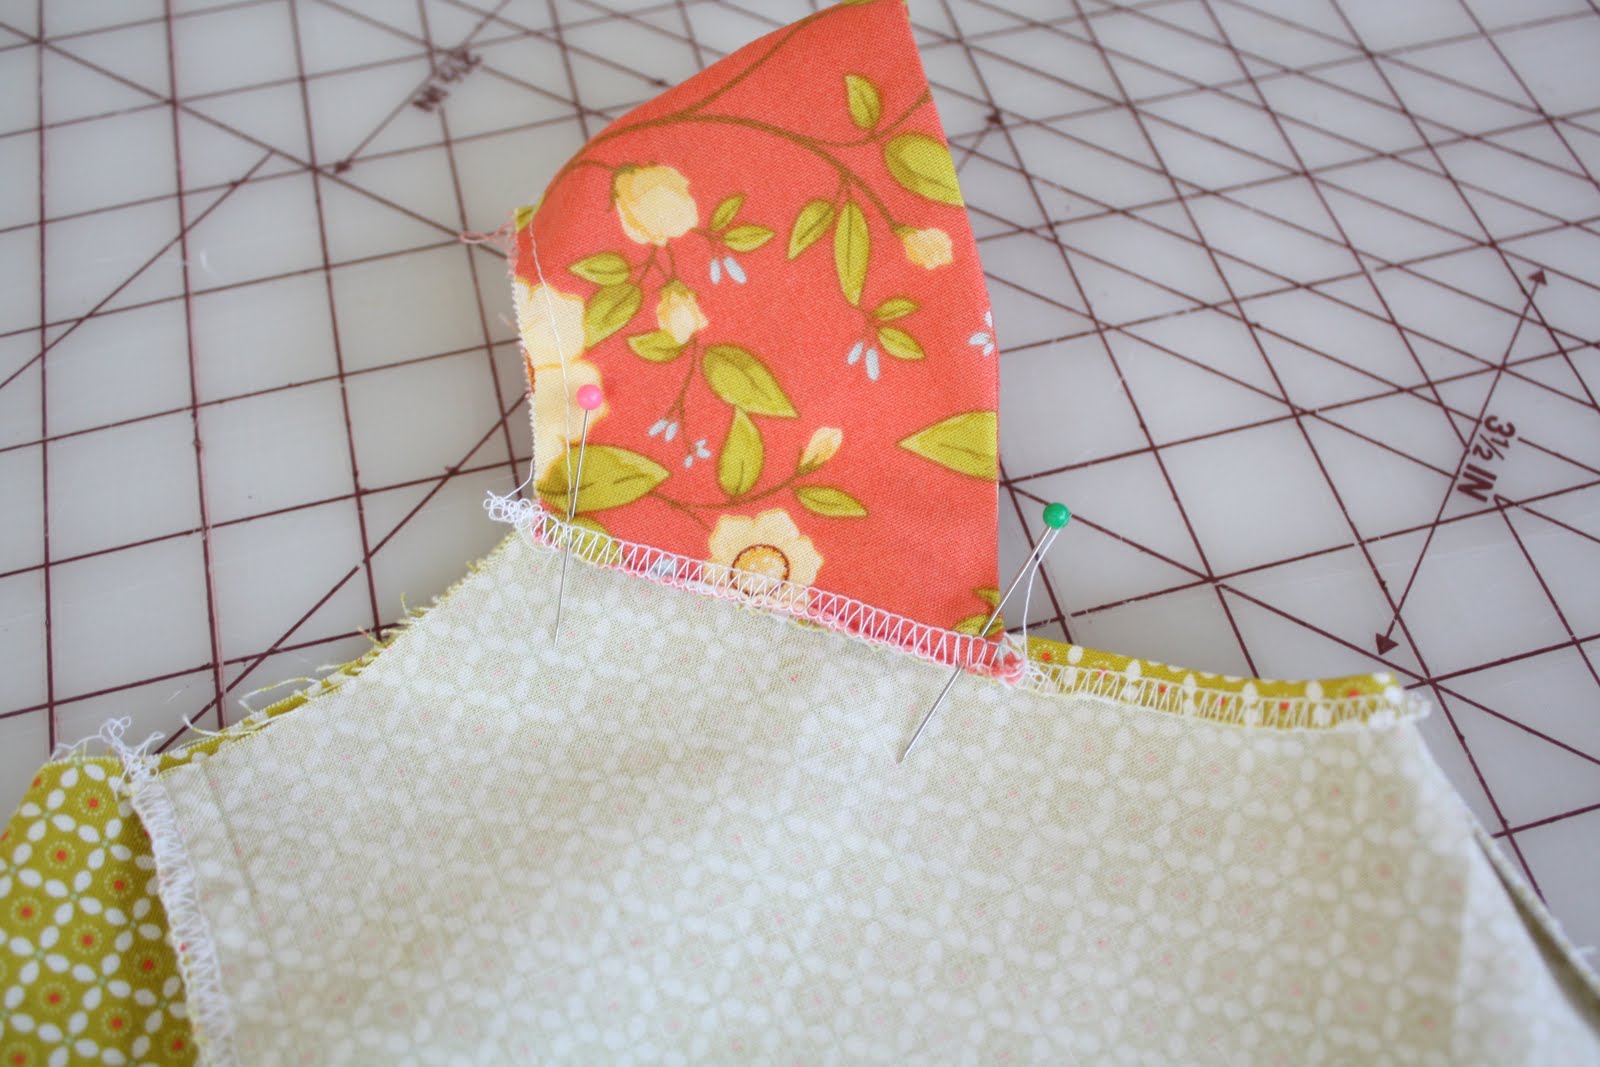
Sew the sleeves right-sides together on the outside seam. Turn right side out and press. Finish the edges on the ends. If you have a pleated sleeve, add pleat and baste the inside seam.
Next I folded over the arm holes and 1/4 in and ironed. Then I pinned my sleeves into place lining up the neckline.
Then I top stitched down from the neckline around the armholes and back up to the neckline. Your stitch should hold down your fold and secure your sleeve in place.
Next I added biased tape around the neckline.
All that is left to do is attach a gathered bottom, sew up the back and add buttons.
Let me know if you have any questions.

Thanks for reading!


8 comments:
Beautiful colors! I love these dresses and I love that you made dresses for the dolls!
really beautifull. to be proud of.
beutiful dress!!! thank you for the tutorial! irealy like it!!
Really lovely. I love the flutter sleeved one best. Did you just add a few inches to the sleeve length on that one? Or did you also gather it a bit?
ADORABLE! Great job.
So, so sweet! I love the timeless, classic look. Wonderful job!
Lindsay
Oh my goodness! Love all of your dolls!! :) And I really love this dress. I'm scheming to make a few more. . . .
The dresses are adorable and I'm pretty sure you are hero status for making dolly dresses!
Post a Comment