Showing posts with label tutorials. Show all posts

Thursday, May 27, 2010

T-shirt Hat

Here is the tutorial for my t-shirt hat from my guest post on Ucreate.

Since soccer started a few weeks ago, I've been wanting a new hat to hide my hair in the morning. I have a few hats already, but they are too dark and heavy for spring. I was thrilled when I came up with this solution and it actually worked.
All you need is an old t-shirt. I've cut several of my husbands ugly free t-shirts up this last week.
First thing you need to do is cut a long strip 4" wide though both layer of the shirt. The length will depend on the circumference of your head + an inch for the seam. I cut mine to be 21-1/2" long. *By cutting through both layers you should have two strips one on top of the other.
Now you have to cut a circle for the top. This involves a little math. Using your circumference you can find the diameter of the circle you'll need to cut.
c=d x ∏ (3.14)
So for example my circumference was 20.5" if I divide that by PIE the diameter is ∼6.5"(knit stretches a little so it doesn't have to be perfect). I added an inch to that as well for my seams. I drew and cut my 7-1/2" circle using a compass. You could also use a string tied to a pen or find a round object with the same diameter. Again I cut through both layers giving me two rounds, one on top of the other. Once they were cut, I sewed the two together with a 1/4" seam around the edge.
Next I sewed the two ends of my long strip together with a 1/2" seam, creating a very thin tube.
Then I pinned the circle to the top of my of my tube, with the seam on the outside.
I sewed around the top with a 1/2" seam, then flipped it right side out.
I made a pattern for the bill using a hat I already had. You can get the pattern HERE. I cut two layers of the bill and inserted a piece of heavy weight interfacing in between them. I made cut the interfacing to be a little smaller than the bill.
Then I sewed around the edges. I added a few more layers of stitching to make it stronger, and I liked the way it looked.
Next I inserted the bill in between the two layers of the cap. I lined up the middle of the bill with the middle of the font. The bill was about an inch and a half inside the bill when I pinned it in place. *Once it was pinned I looked in the mirror to make sure I liked the length of the bill. You can shorten it or pull it out more till you like it.
Now all that is left to do is sew around the base of the hat.
That's it for the cap. It only took me 30 minutes to make my first one. I consider myself a basic sewer and I had no problems. I love the look of the raw edges and that I didn't have to do any hemming.
For my embellishments I added flowers made with the extra pieces. I cut long strips of the knit about 1-1/2 inch thick. I twisted them and then rolled them like a lollipop.
I sewed them together by hand.
And then onto the cap.
Sometimes I get head aches from wearing a hat to long. This one was so comfortable I was able to wear it all day.
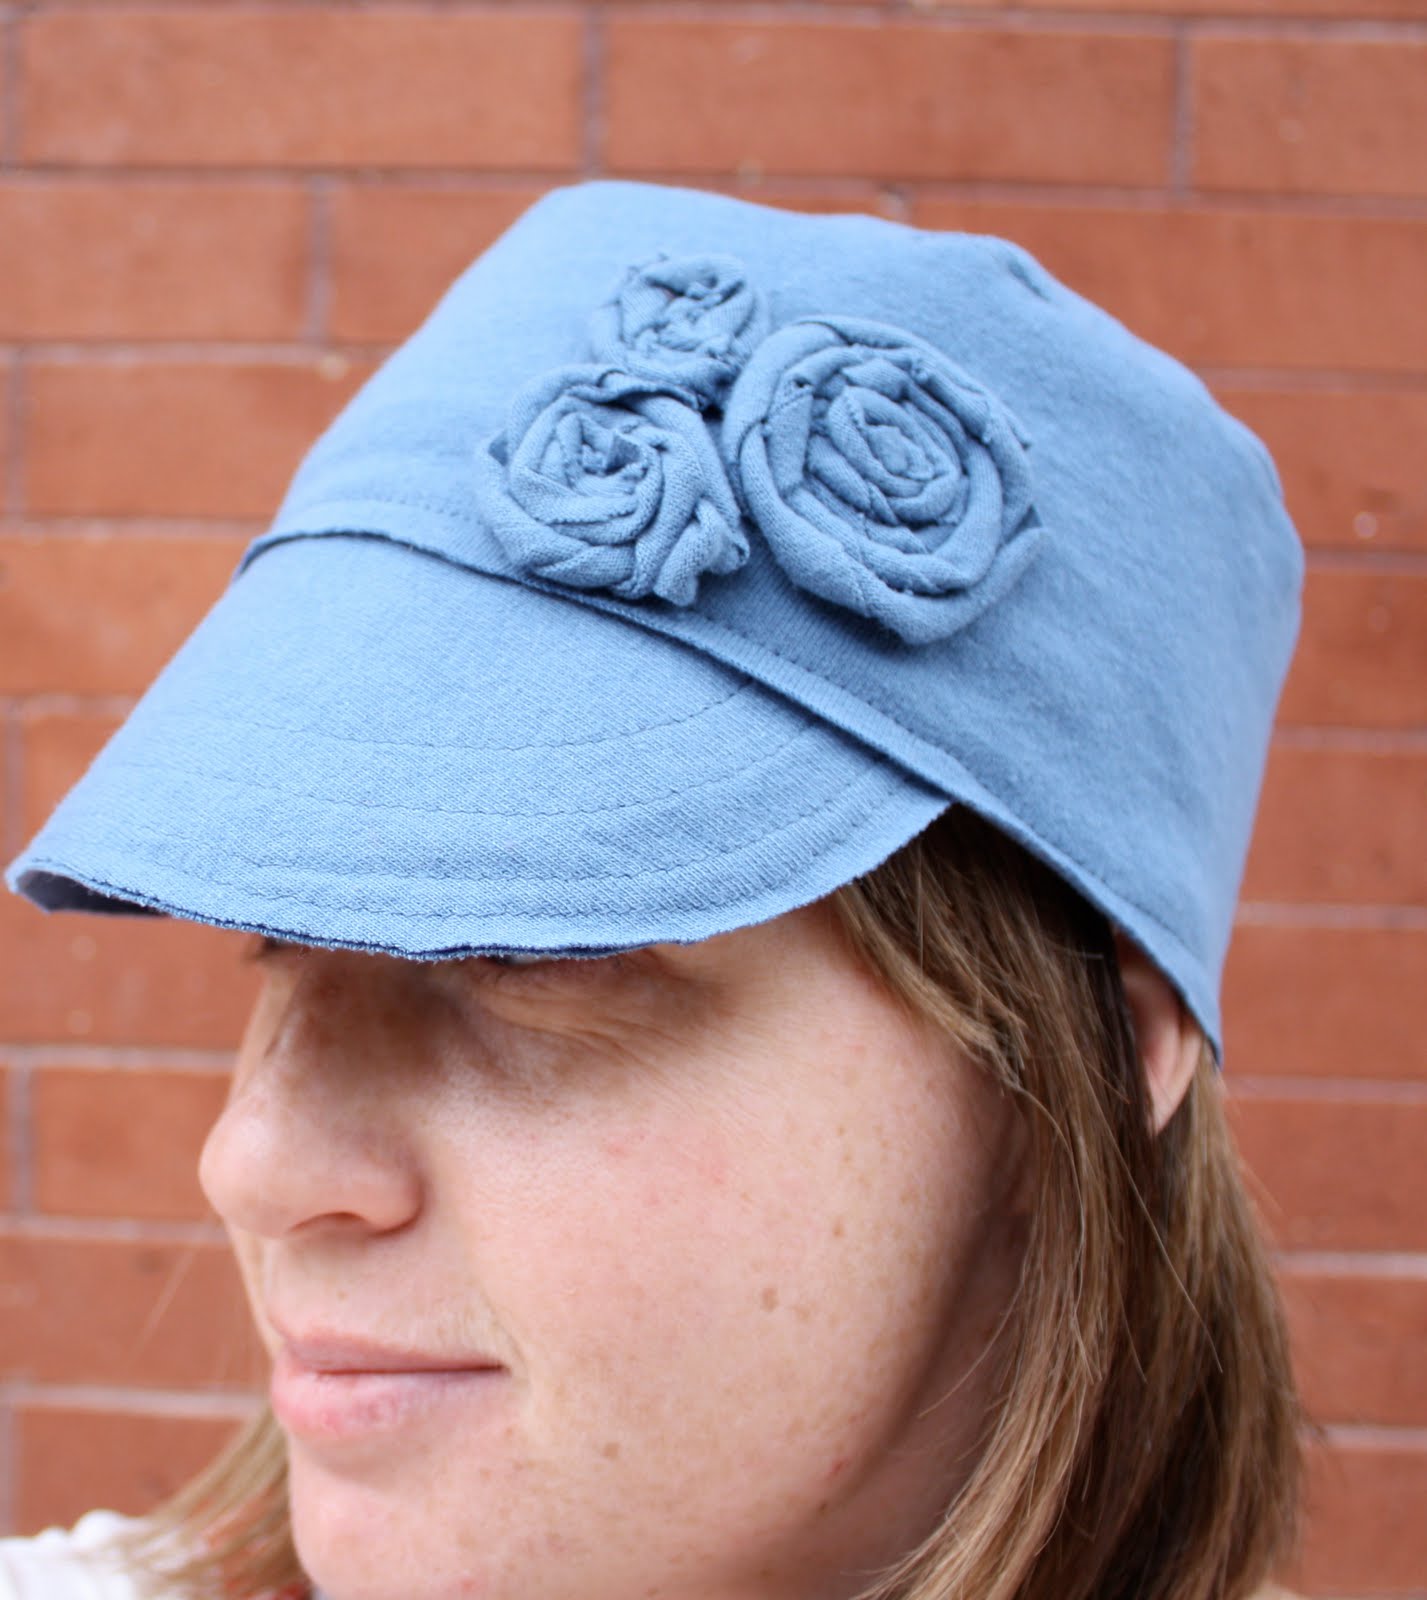
I'm kinda obsessed with making them.
I don't think I can ever get rid of an old t-shirt now.
The possibilities are endless.

Wednesday, April 21, 2010

Minnie Party How-to's, Part 2

Here is a link to the original party post.
The invitations:
What I used for each invite:
-a 4-1/4" x 5-1/2" piece of black card stock. (you'll get this size when you cut a 8-1/2 x 11 sheet into 4th's)
-a 4"x 10" sheet of polka dot paper
- a 3" x 4" peice of red paper
-black paper to cut out minnie ears
- white ribbon, 5/8" thick.
- tin red polka dot ribbon, 1/8" thick
- glue dots
First I cut out all my minnie ears. I traced items with a round base like a spool of thread.
To create the pocket, I folded the polka dot paper into three sections. The first section was 5-1/4", the second was 3-1/4" and the last was 1-1/2". I folded them accordion style.

Now you just need to assemble it.
Laying the folded paper down, I had a flap in the front. I slipped the red piece under the flap of paper and glued it at the corners. I wrapped the ribbon around the flap and secured it to the back with glue dots. Then I glued the entire polka dot piece to the black card stock.
I added the ears with a small bow in the middle. After I printed the information on white card stock and cut it a 3-1/2"x 5" size, I slipped it into the pocket.

The birthday Hats:
I bought a cheap pack of sponge bob hats and covered them with my left over fabric. I undid the hat and used it as a pattern. I traced the shape minus the flap onto the fabric then cut them out. I glued the fabric to the hat using regular craft glue.
I thought they were cut even like this.
I used black foam for the ears. Again I just traced a bowl and cut the edge of one side off. This gave me a straight edge to attach the ears. I attached them using hot glue.
I didn't tie my bows I glued them together then onto the hats. I made the pom pom's with some thick black string I had. Yarn would work too. I forgot to take a picture while making the pom poms. You can google it if you need a picture. Basically, I wrapped the string around three fingers several times, then tied a string around the middle and cut the ends.

The Birthday Cake:
For the bottom I used two 9" rounds, for the top I used two 6" rounds. I covered them in the Marshmallow fondant found HERE. This fondant usually works great for me. I like it because it's super easy and I don't have to plan ahead. But I might try THIS recipe next time. I was really worried for awhile that I messed the whole thing up because I couldn't get the fondant to go red. It was this awful pink color, but slowly started turning red over time after I gave up.

I made the Ears with a 5" cake pan and two sugar cookies. They are held in place by several skewers. I cut the cake round in half and skewered it into place. I stuck a couple skewers into the cookies as far as I could without breaking them and then stuck the other ends through the layers of cake. Next I coved the whole thing with black frosting. I found the easiest way to cover it was by pipping stars all over as close together as possible. I made the bow out of fondant and piped the dots on with white frosting.

Birthday Banner:
I cut my pendants with a rotary blade and ruler. I used the same fabric as the birthday skirt and party hats. I wasn't worried about the letters being straight, so I sewed them straight onto the pendants without any Wonder Under. I layed the pendents out, measuring the space between them and pinned a ribbon to the tops. Then I sewed over the ribbon.

Mickey Ears Banner:
I cut several little mickey ears using the same pattern I used for my treat bags and several little fabric pendants. I actually cut the pendants from the scraps left over from my larger banner. I hate throwing anything away. With my piles next to me, I would sew over the tops of each piece one at a time keeping an inch or so in between them.

The Tissue Paper Pom Poms:
I followed Martha's instructions Here, but made mine half the size. I used 10 x 20" sheets of tissue paper.
You will find part 1 Here

Monday, April 19, 2010

Minnie Party How-to's, Part 1

Here is a link to the original party post.

There is so much to explain with this party I thought I better do two posts.

The Pinata:
Okay this was so easy. I was worried it would take forever, but I made it in less than an hour.

What I used:
A Costco sized Huggies box.
tape
craft glue
a roll of crepe paper
a couple sheets of tissue paper
tape
I started by cutting out the mouse ears shape. I used bowls for my drawing. You'll need two sets of ears, a front and a back.
Next I cut the flaps from the top and bottom of the box in half lengthwise. I took the strips and made them pliable by bending them and rubbing them along the edge of the table. It's kinda like curly ribbon. You just have to break the stiffness so you can bend it around the shape of the ears.
I attached the strips one side at a time. I started at the center corner of one ear and taped it into place. Then running along the edge I would place a piece of tape every now and then. You don't want to tape the whole thing or they won't be able to break it open, use just enough to hold it in place. I continued this until I wrapped around the whole thing. Taping in all the corners help it hold it's shape.
I turned it over and attached the other side the same way.

I left this gap in the top so I could fill it with candy.
I didn't get a picture, but at this point I would poke a hole in the front and back to fish your wire through. Once you've added the wire you can cover the box with paper.

I started at the edges. I ran lines of glue along the edges on both the top and side of the pinata. Next I covered them up with the crepe paper.
I did this on both sides
Then I covered the entire thing with a layer of black tissue paper. I glued it down and cut away the excess.
I covered the tissue paper with spirals of ruffled crepe paper. I started with the ears first.

First I went around the edge with the glue. Then I pulled the crepe paper into gathers as I layed it down. I would lay it in the glue and scrunch it up.
Once the outer layer was done I would start on the next layer making sure they overlapped a little.

For the middle of the circle I scrunched a strip of the crepe paper into gathers and formed it into a circle and attached it to the center.
After the ears were done, I did the same thing for the center. I covered both the front and back and sides with the crepe paper gathers.
For the sides I did the edges first then did a ruffle down the middle.
The only thing left to do is add a bow, it can be used to hide the wire.

The Mouse Hands:
First I made a pattern. I started with a circle for the palm of the hand them drew fingers. Mickey and Minnie only have 4 fingers. You'll need to make sure you make at least one finger wide enough to fit two real fingers.
I cut them out of white felt. I cut the top of the hand on a fold so it would have a rounded bottom and be double thick. I cut the bottom in a single layer trying to use less felt, but you could do both hands double thick.
Then I sewed the the top to the bottom
Once I knew they fit, I drew the black lines on with a fabric marker I already had. It would probably look better if you cut and sewed them on using black felt. I was out of time. Of course you would need to do that before you sewed the two layer together.

The Goodie Bags:
What I used:
White, Black and Red felt
1" Black ribbon
small red polka dot ribbon
fray check

First I made a pattern for the mouse head with a piece of cardstock. I traced spools of thread and such, anything round and the size you want will work. Then I use the pattern and cut out several of the mouse heads in the black felt. I cut several white circles slightly bigger than my mouse ears and sewed the two together with the ears centered in the middle.
Next I cut the font and side panels of the bags. The front panels are 5" x 7" and the side pieces are 3" x 7". I cut my black ribbon into 20 in strips and fray checked the ends.

Next I sewed the black ribbon onto the bags and then the mouse ears circles in the middle.
To assemble them I sewed the sides and the front and back togehter. It looks like a bottom-less box. Then I folded in the sides at the bottom, like a flat lunch sack, and sewed the bottom closed.
The Birthday Outfit
I simply used Wonder Under to add everything to my $3 T-shirt. I made the skirt up the same way I made THIS ONE. The only difference was I added a gathered piece of black fabric to the bottom. I bought 2 yards of the polka dot fabric. I was able to make the skirt, all the hats and banners plus have some left over.

I'm sure I left something out so let me know.

Here is a link to Part 2 of party How-To's.

LinkWithin

Related Posts with Thumbnails