

I really like to wear cardigans. They keep me warm in the winter, but I can take them off if I get too hot. I especially like lightweight cardigans. I've been wanting to get a drape cardigan for a while. They seamed so cozy and comfortable yet still stylish.

The cardigan is easy to make with only a few cuts and seams and since it's made of knit I didn't finish my edges.

I found these 5 yard bolts of knits at Wal-mart. They were originally $5 each but I got mine for $2.50 each. They are a looser woven knit like a light weight sweater instead of a t-shirt.

The first thing I did was a cut a 30" length off of the bolt. My bolt had a 63" width. This left me with a rectangle that was 30" by 63".
Next I took one of my own long sleeve t-shirts, turned it inside out and pulled the sleeves inside. I pinned the arm opening closed to help it hold it's shape.

Next, I measured the length just under the armpits. Mine was 19".

Then, I folded my fabric in-half horizontally and marked the middle with a pin.
Using a ruler as a guide I folded in the sides, till I had 9-1/2" on both sides of my pin. I was left with a folded rectangle that was 19" by 30". I kind of pilled the extra length of fabric in the center. 

Now I was ready to cut my armholes. I positioned the shirt armhole right along the fold.
I would cut the armhole out 8" down from the top of the fabric. I actually cut mine at 3" and had to add the extra length later.

After cutting the armhole I cute a straight line down the side following the fold.

Then I folded the fabric in half again and used the armhole I just cut as the pattern for the other side. I cut a straight line down the other side as well.

After making both armholes and cuts down the sides I cut out my sleeves. I used my t-shirt sleeve as a pattern. Once it's lined up, cut up to the armpit seams.

Once it's lined up, cut up to the armpit seams.
To cut the curve at the top of the sleeve, I lined up the arm hole from the body piece.

After I cut one sleeve I used it as a pattern for the other sleeve.

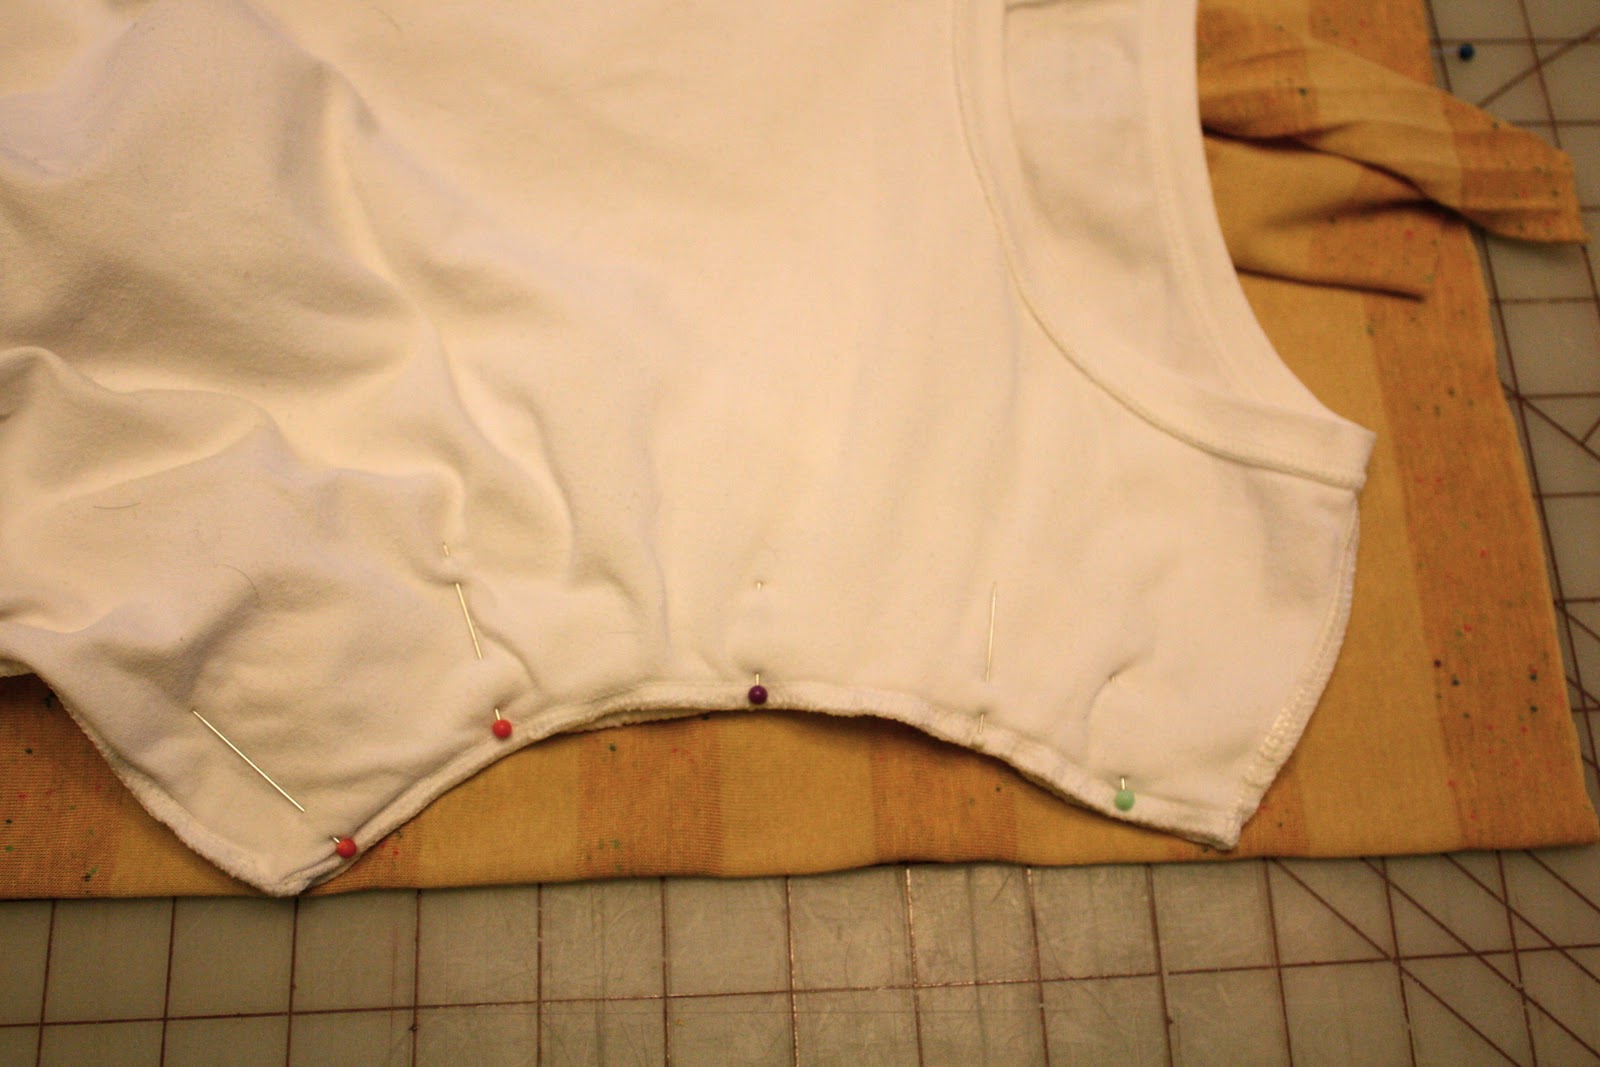
Next, I sewed on the sleeves. I opened the shirt pieces and laid them flat with the right side up. Then I lined up the middle of the sleeve with the shoulder seam and pinned them right sides together. I followed the curve on both sides and pinned every half inch or so.

It will look like this when your done. It should be a perfect fit, be careful not to pull or stretch the knit.

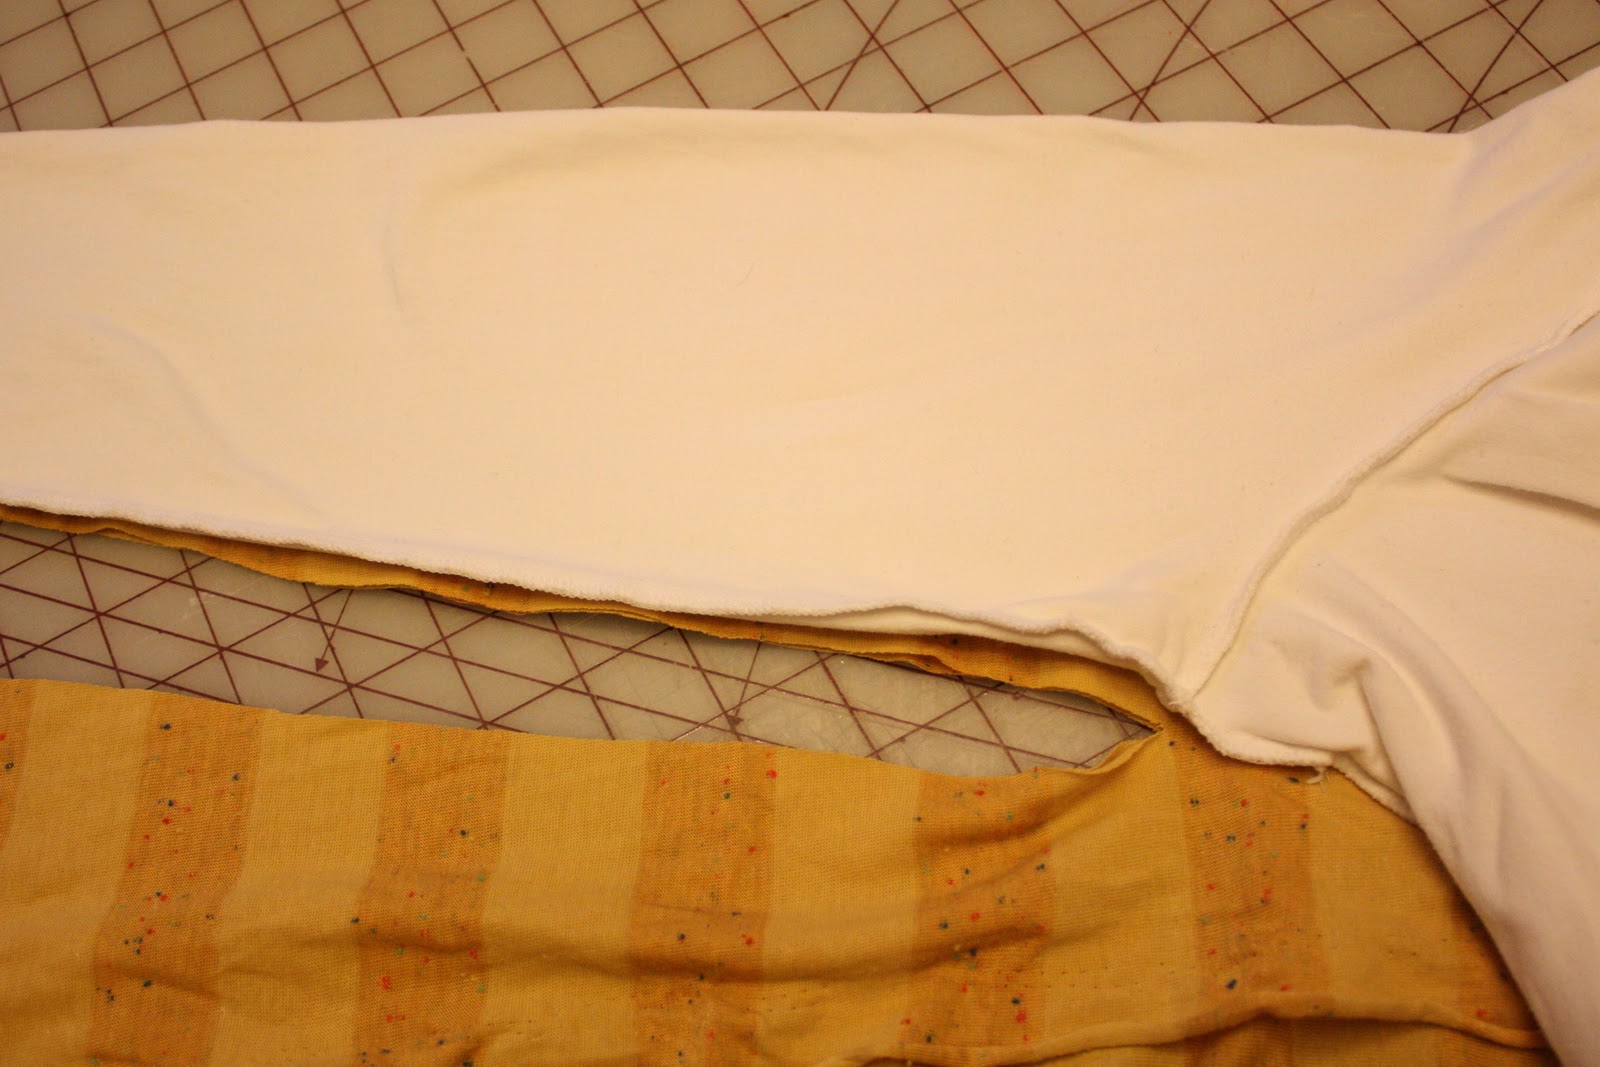
After the sewing the arms on, I sewed up the sleeve and down the sides.

I also hemmed the ends of the sleeves, but I left all the edges unfinished. The edges that weren't a selvage rolled a little, which I liked.

FYI, I also made one for my daughter, when I did hers I didn't cut the seams down the side. All I cut were armholes and sewed the sleeves into the hole. It worked, but I think it's easier to sew the sleeves on with the open sides.
Let me know if you have any questions.
Check out THESE super cool parties
I link too.


32 comments:
Looks really good! great fall colors
Yeah, I gotta question...couldn't you just make one for me??? :)
you are an amazing seamstress and a bargain shopper! way to go!
I am addicted to these bolts at Walmart. I've used them to make a bunch of t-shirt hats and matching scarves. What's funny is just today I decided to make a kind of drapey vest out of some black that I bought. It turned out so well I decided to make another one and add sleeves. I got it all cut out and then came across your tutorial. Your way is much easier! Thanks for the great tutorial. Thanks to you I have lots of new hats, scarves and now new cardis :)
That is so cute!
Good job~! you are a very clever rabbit~! I have to have a pattern to do something like this.. I admire girls like you that can just look at something and make it.. WOW~!
ta ta for now from annieptigger@aol.com from Iowa..
great looking wrap and looks simple enough for me to attempt!! and the price that you paid for the fabrics - BEST!!!! i never knew walmart sells fabrics until today :P
Beautiful! You did a fatastic job and you make it look so easy.
Maggie
http://ceodraiocht.wordpress.com
Me again! So I busted out two of these last night. One in gray and one in cream. So comfy and stylish. I love, love, love them. Now that I have my arms figured out (thanks to doing the whole lay it flat method), I feel like the world is my oyster :). Can't wait to make one for my daughter. Just trying to figure out how to cut it down size wise. Thanks again :)
So pretty! And I love the fall backround...I dont think we ever see leaves like that here in the desert:(
Love it!! I linked to your tutorial over at Craft Gossip Sewing:
http://sewing.craftgossip.com/tutorial-drapey-cardigan-from-t-shirt-knit/2010/11/20/
--Anne
I love it! Your tutorial is awesome. Thanks for all the info I'm going to have to make one for myself and my daughter. Great Christmas gifts too.
dramaqueenseams.blogspot.com
This is amazing! I love cardigans and can't wait to try it!
unfortunately the Wal Mart near us is in the process of shutting down their crafts department. First they close down all the small mom and pop stores in our little town now they are leaving us without any fabric or yarn resources. I think this scarf is light and breezy, perfect for a cool summer evening. Thanks so much for the idea.
Um, I kind of love this. You did an amazing job, I can't wait to make one of these!
Amie @ http://www.kittycatsandairplanes.blogspot.com/
I am in awe... i love the wrapped cardigan. It looks so good on you!
WOW...love this. I so adore cardigans and a light weight one for where I live will be great. You did an awesome job making it as well as telling us "how to". Thank you!!!
So happy that I joined in the linky fun at "These Creatvie Juices".
Hugs,
Regi
So cute! I love it!
Come link up:
http://gigglesglitzandglam.blogspot.com/2010/11/glam-party-3.html
Very cute! Thanks for the tutorial. Super easy, which I love!
This is so cute! I love this kind of cardigan. You amaze me Kalleen. Really.
Thanks for linking to Take-A-Look Tuesday over at Sugar Bee Craft Edition - I featured you today! - Mandy, www.craftedition.blogspot.com
beautiful!!!
Looks great. I found some green fabric just like it at Wal-mart...maybe I'll have to make myself a copy cat cardi, yours looks so cozy.
I'd love it if you linked this up to my holiday apparel link party:
http://leafytreetopspot.blogspot.com/p/hip-for-holidays-link-party-and-archive.html
Amazing! Thanks for the tutorial. I like how you explained how to cut the curve of the sleeve by matching it up. Mine always comes out with too much fabric and now I know why. Please add this to the linky party too! And any thing else of course! You are not a beginner sewer - you are so talented!
Wow, that's awesome! I was searching for a pattern like this and found your blog. I love the way you explained it and all the pics too (I'm a visual learner). I'm definitely going to try this out! Thanks so much for sharing! :)
Thanks! This perfect for the spring too! A little chilly in the morning and evening. Can't wait to try it out. I really appreciate the step-by-step pics too.
I love that. I have bought a couple of bolts of knit fabric that I have wanted to do something like this with! Thanks for the instructions!
This is just so fantastic! I can't wait to try it!
this is great. i've been wanting to make a cardigan like this for months but i never sat down to figure the patern. thanks for the tutorial.
A question for you, or anyone else who has made this. I am new to garment sewing and this seems so simple, but one thing I'm not clear on. When you are cutting out the sleeve pieces, are you cutting somehow from the same piece of fabric (the 30"x63" piece) or are you cutting the sleeves from the bolt?
Thanks.
heather.degreeff@gmail.com
I love this! When I saw it on Versus I thought "Hey! That's my favorite cardigan I bought years ago and wish I could find again." :) I'd love to feature this tutorial on the Examiner's Arts & Crafts page. Let me know!
Post a Comment